Wednesday, August 1, 2012

My First Reupholstery Project Part 3 of 4: the Galling-to-Glorious Glider

Part 3 of 4: The arm rests
Well, we are halfway to the big reveal of the new glider! I think after this, I'll post all the pictures of William's nursery and give you a tour. I haven't even posted pictures of it to Facebook yet, so you'll get first look! :) Now, back to the glider...

  
Learn from my mistake!

Once again, I felt a little in the dark about these arm rests because I couldn't find any online help. My mother-in-law called me one afternoon after I'd been working on them all morning. I told her I was ready to throw the entire chair out the nursery window! She said I probably shouldn't do that since it was above my weight-lifting limit...I suppose she's right! You won't feel like this, though, because I'm going to share with you what worked and we'll skip the part about what didn't. I started by separating the arm rest into two pieces...only to sew it back together when I realized that wasn't working for me! So, save yourself both time and sanity and leave it in one piece. My original arm rests had pockets on the outside, and you could easily include an additional piece of fabric across the top of your new cover that can replace the ones we're going to sew over in just a minute. However, I had already spent three days coming up with a plan that worked to cover these evil arm rests, and I was willing to sacrifice the pockets.


Let's get started, shall we? My bird fabric is directional, so I did needed to cut out two pieces for each side of the arm rest so that my birds wouldn't end up upside down on the outside. I used the arm rest cushion to trace out my fabric and immediately sewed those 2 pieces together. I did that for the front and back. Oh, and be sure to make your length a little bit longer than the cushion is (maybe an extra inch or two)...you'll see why in a bit.

                  Sew the top and bottom pieces together             
                                                                                                                        
Now that you have a new front and back cover, sew those together into a "sleeve", NOT a pillowcase! Be sure to leave both the top and bottom open, stitching down the sides only. See below. The arm rests had hardware I needed to be able to continue to use, so I tucked under the raw edge of fabric and exposed the original snaps. I started with the part that goes on the inside of the chair because it snaps under the seat cushion, out of sight! Nervous as a long-tailed cat in a room full of rocking chairs, I took it to the sewing machine.


Sew directly onto the arm rest. The stitching is going through the fabric AND the bottom part of the cushion, just above the hardware. Don't worry about the exposed strip of the original cover- it's hidden under the seat! See?


We are almost done! Sewing the outside bottom of the arm rest was a tiny bit different than the inside, because you will see all of it on the outside of the chair. I tucked in my material enough that the raw edge was above the snaps, but the fabric looped down enough to cover all of the cushion. Then I sewed it on, just above the snaps, like I did for the other end. It secured the fabric to the cushion, but it also left a nice flap that covered the snaps on the side you see and allowed me to lift the flap on the back side to attach the arm rest to the chair.
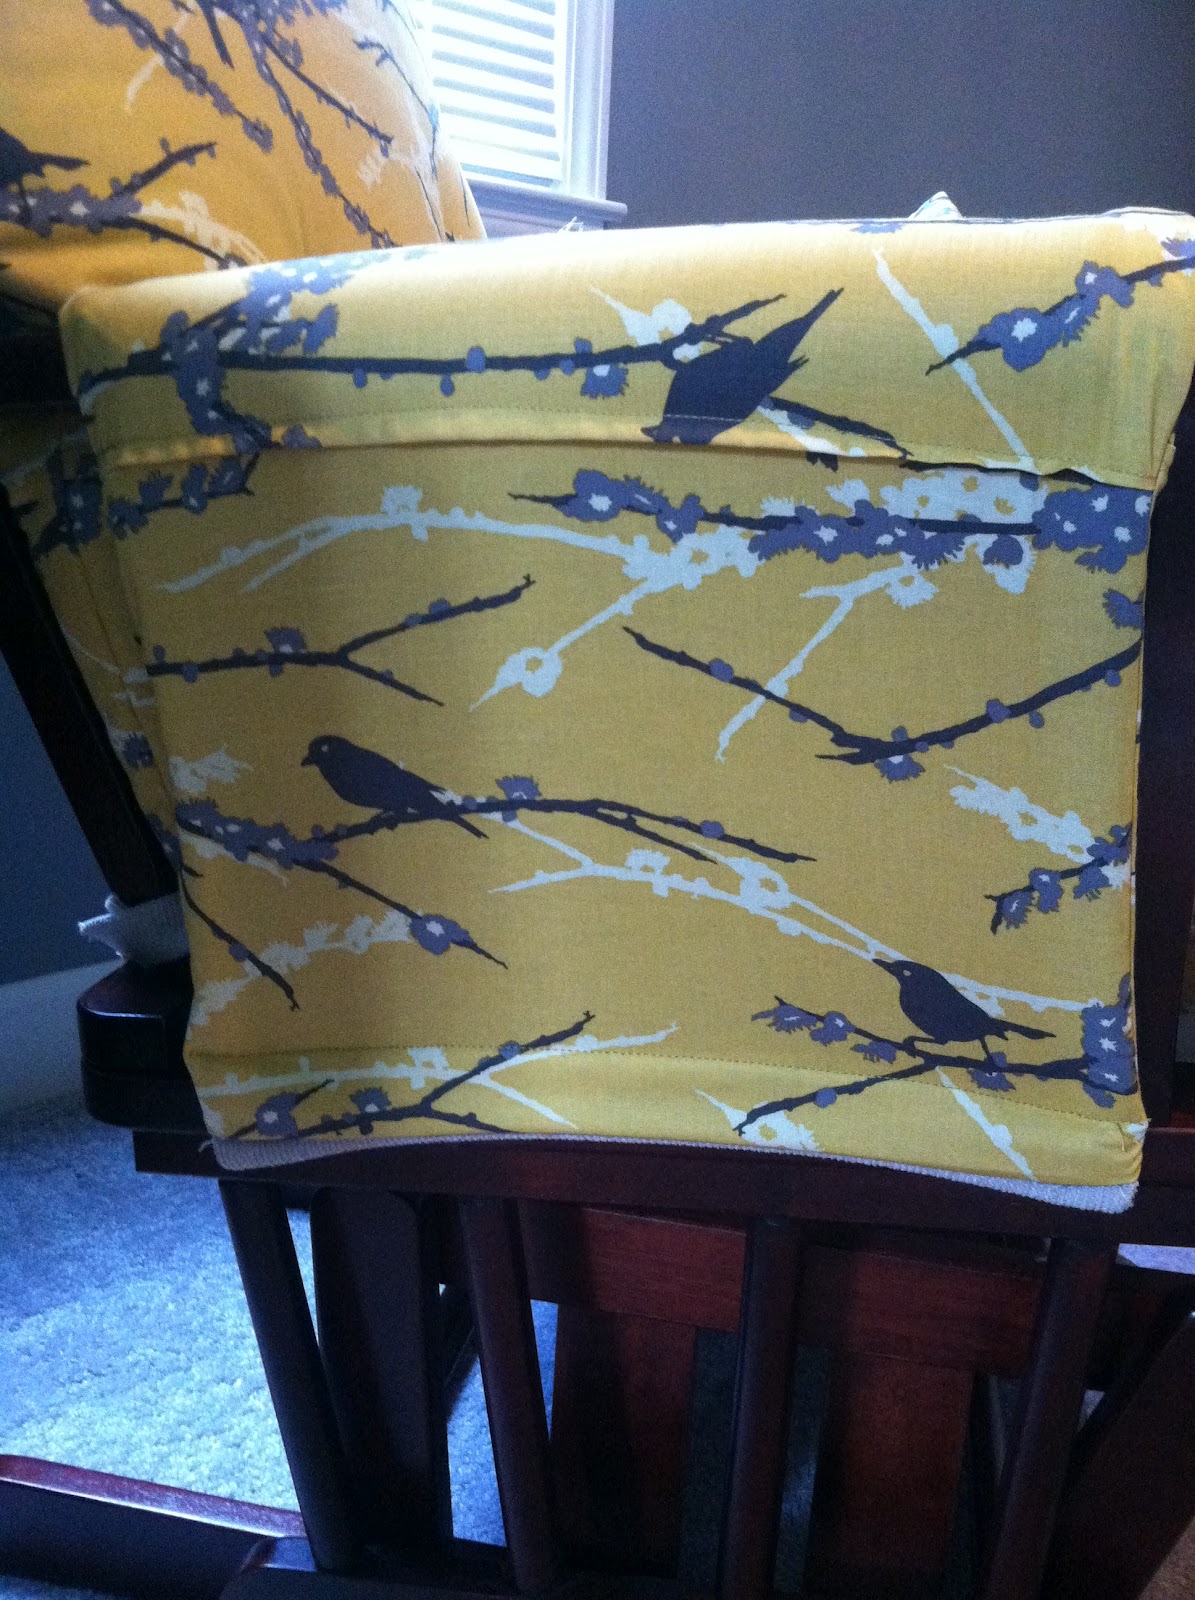
Finished product

If you look closely, you can see a little bit of the original cover in the bottom corners, but I didn't worry about that too much. If someone inspects my work that closely and has a problem with it, I'll politely ask them to sit in the glider, and then I'll throw them and the chair out the window! Haha, just kidding! I'd never do that- I worked too hard on this chair to toss it out now! Anywho, to remedy this, I just needed to leave a little more of a flap before sewing it. The chair itself is now complete, but we still have one more piece to go...the ottoman! You will need a heavy-duty staple gun and help from a friend (husbands work perfectly!) for tomorrow's post. Then we'll see the finished product, complete with a "before" and "after" comparison! I can't wait to give you a tour of the nursery after that! :)

No comments:

Post a Comment